Employer Website Knowledgebase
Visit SiteQwork.my Site
  • 👋Welcome to Employer Website Knowledgebase
  • Getting Started
    • 🛠️Creating an account
    • ⚙️Setting up your space and members
      • Company Profile
      • Users / Members
    • 🎨Customizing your company branding
      • Company Logo
      • Company Images
  • Supporting Features
    • ⚖️Budget Simulator
      • How it Works
    • 💳Credit Balance
      • Reload Credit
    • 📋Perks
      • Buy Perks
      • Apply Perks
  • Gig Management
    • 📪Post a Gig
      • Operational Gig
      • Skilled Gig
    • 📬Repost Gig
  • Gigger Management
    • ✅Accept Gigger
    • ❌Decline Gigger
    • 📩Chat
    • ☑️Approve Check-in
    • ❌Reject Check-in
    • ☑️Approve Check-out
    • ⭐Rate your Gigger
Powered by GitBook
On this page
  • Step-by-step walkthrough
  • Step 1: Go to Company Profile Menu
  • Step 2: Click "Add Users" in Users section
  • Step 3: Fill in the required input form
  • Step 8: Click "Confirm" Button
  1. Getting Started
  2. Setting up your space and members

Users / Members

Add Users / Members

PreviousCompany ProfileNextCustomizing your company branding

Last updated 2 years ago

Step-by-step walkthrough

Step 1: Go to Company Profile Menu

Click "Meatballs Menu" button (Three horizontal dots) on Sidebar Navigation.

Then click Profile.

Step 2: Click "Add Users" in Users section

Step 3: Fill in the required input form

Complete the add new user form as shown in the picture.

The following table is an explanation of the fields in the add new user form.

Field
Input

Full Name

User's full name

Email

User's email address

Password

User's password to login to this website

Department

User's department

Phone

User's phone number

Step 8: Click "Confirm" Button

After completing all the required input forms, click Confim button.

⚙️
Dashboard Menu
Dashboard Menu
Company Profile
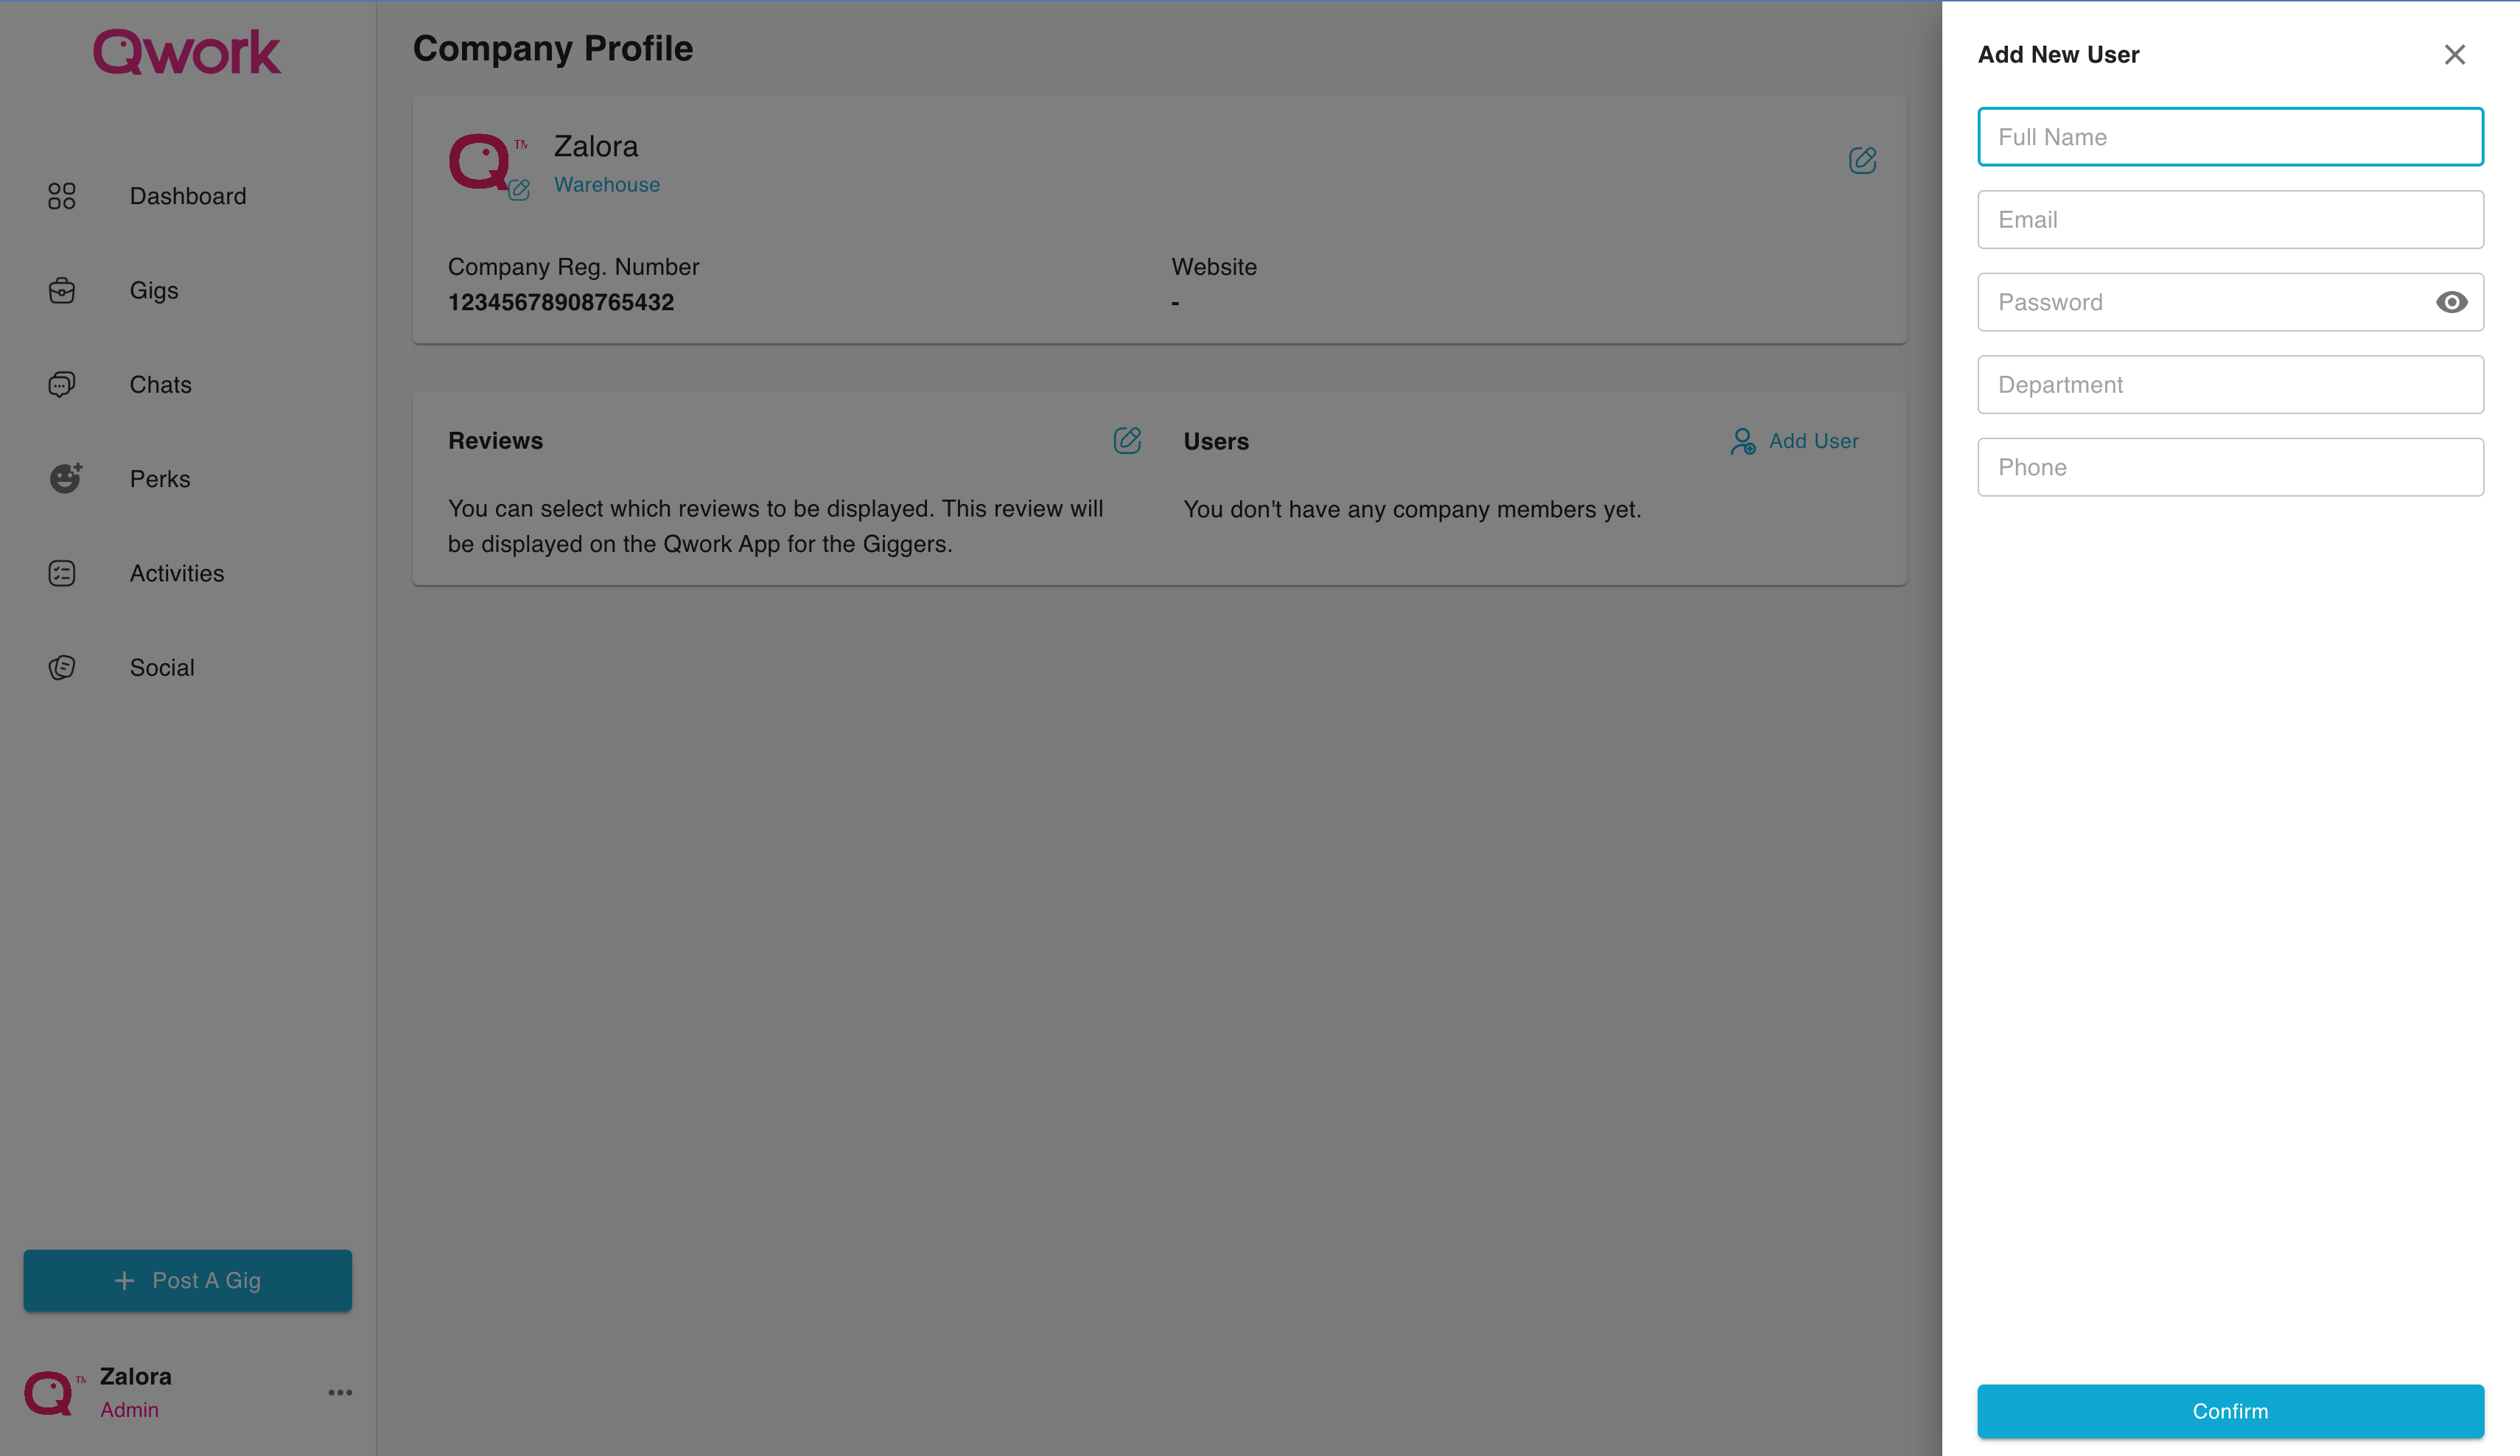
Company Profile - Add New User